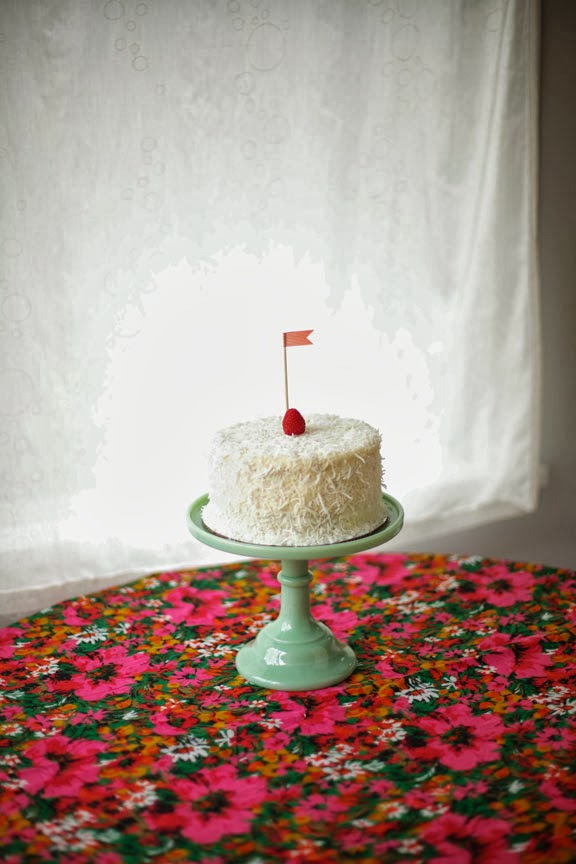
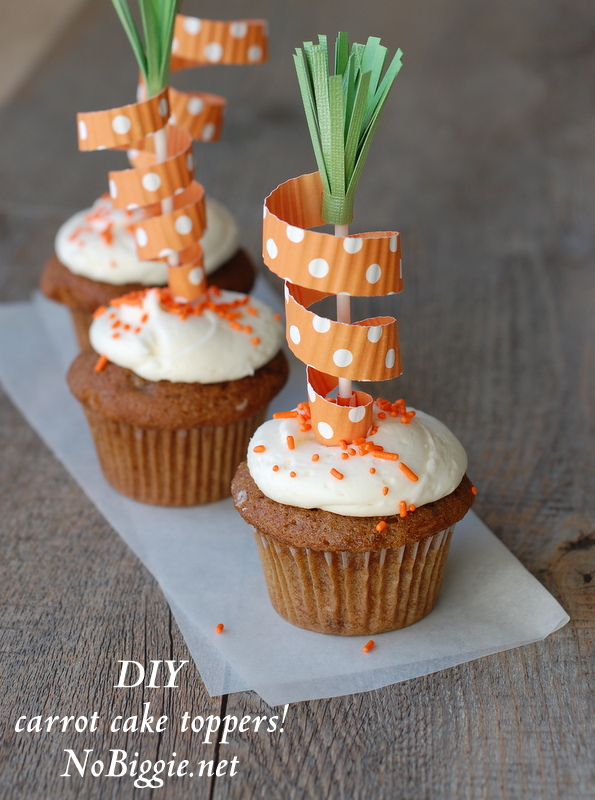
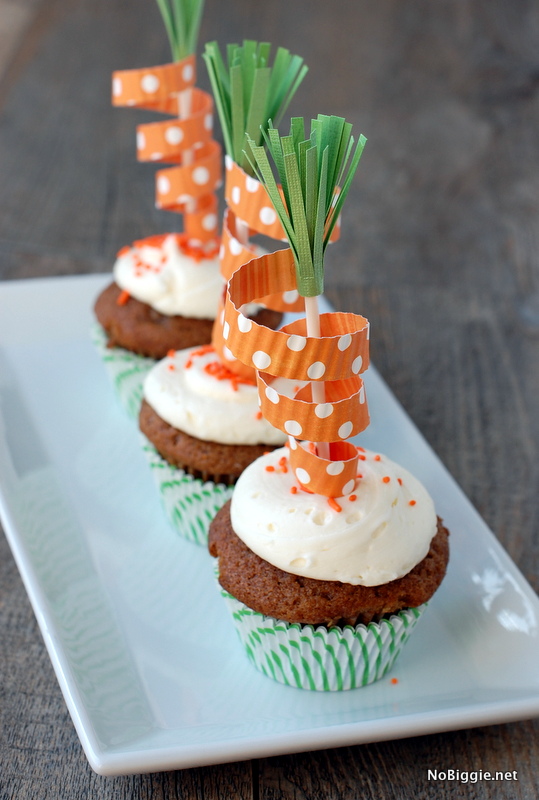
When autumn comes, the cool weather mixed with rain creates a damp environment—perfect for our mushroom pals to sprout like crazy in the forests and woods. I thought this toadstool mushroom cake topper would brighten up your rainy fall days—and they make a great addition to a woodland themed kid’s party.
Plunk them into cupcakes, cakes, cookies, even a big old plate of fried mushrooms. You can draw a little face on them or leave them as just pure unadulterated toadstools—it’s totally up to you!
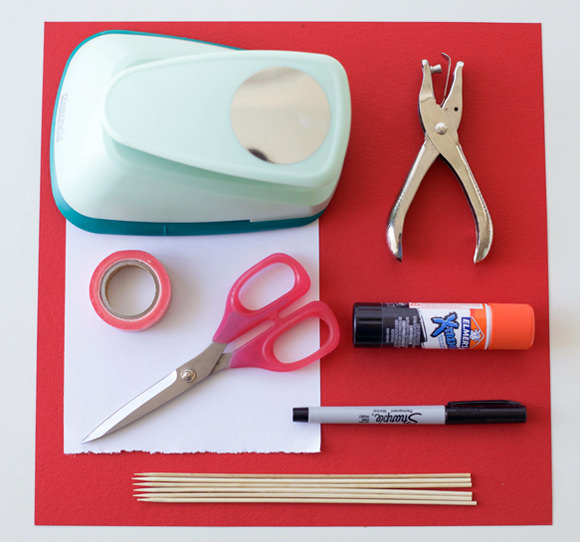
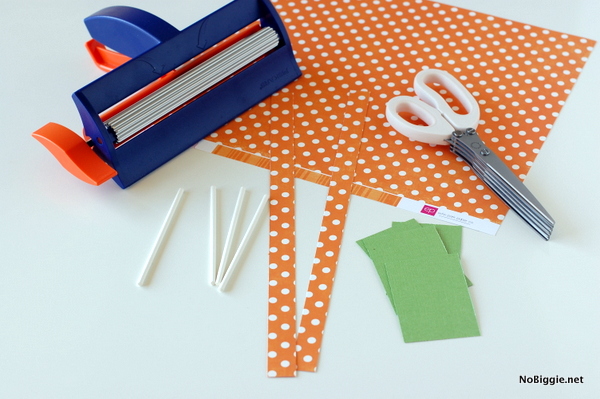
What You Need
- One piece of red craft paper
- One smaller piece of white craft paper
- Scissors
- A circle craft punch—I used a 3-inch wide one
- Mini hole punch
- Glue stick
- Black fine-tip marker
- Wooden BBQ sticks
- Scotch tape or washi tape

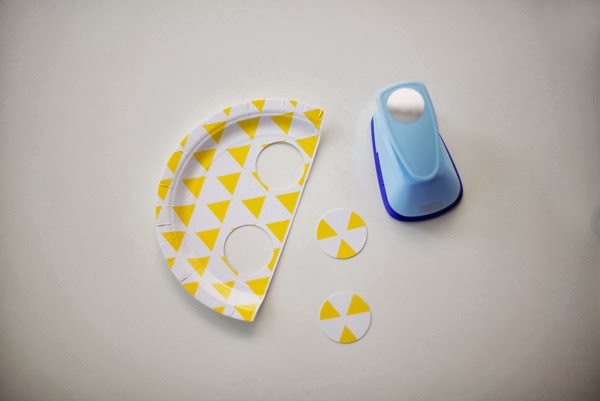
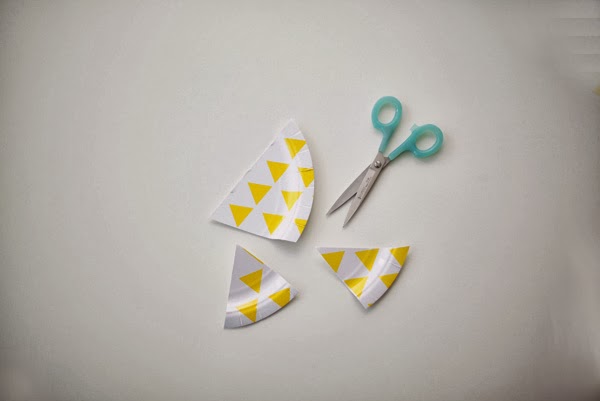
Step 1Punch out your red circles using your circle craft punch. Cut your circles in two to form two mushroom domes. Or, use scissors to cut out some half-circle mushroom tops.

Step 2Cut out some thick rectangle mushroom stems from your white craft paper. Adhere to the red caps using your glue stick.

Step 3Punch out a bunch of tiny white paper circles using your mini hole punch. Using a glue stick, adhere the white dots to your mushroom cap.

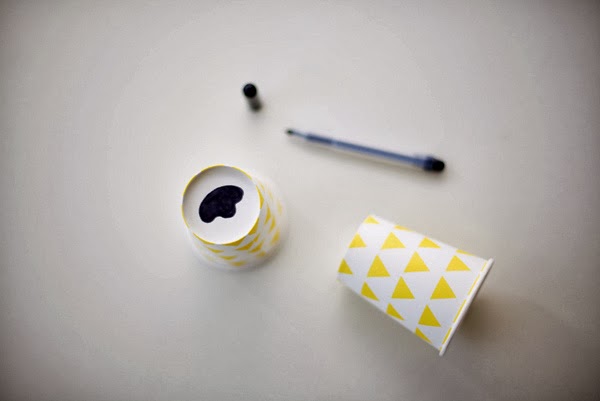
Step 4Get your fine-tip black marker out! Make your own friends by drawing some smiley faces on your mushrooms. Instant pals. See how happy he is to be a mushroom?

Step 5Using scissors, cut your wooden BBQ skewers into whichever length you like. Tape your mushrooms on with Scotch tape or washi tape.

Step 6Plunk those adorable toadstool mushroom cake toppers into your cupcakes and you are all set for your woodland-themed party!
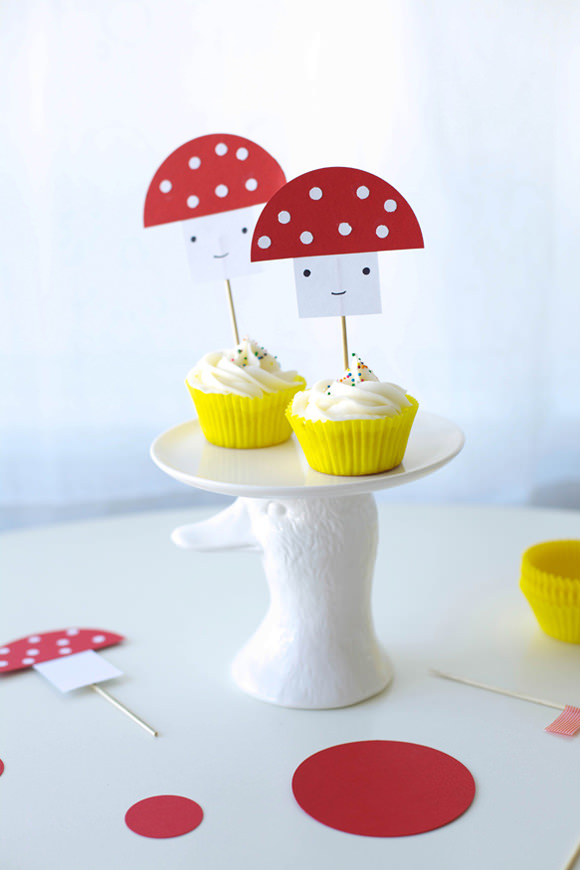
Yeah, buddies! Smile away like the cute little mushrooms that you are. Hope you enjoyed this tutorial. I’ll see ya real soon!